Hi Preschool Mama!
Don’t you love to help your little one(s) with dot-to-dots?! It’s like solving a secret mystery to see what picture will be created. It’s also a terrific way to practice number recognition, counting, and fine motor skills. I wanted to bring extra excitement to alphabet practice with my preschoolers at home and created dot-to-dots that combine number and alphabet learning.
All you need to complete these DIY dot-to-dots is a chalkboard, dry erase board or paper. See our last post if you would like to make your own easy chalkboard!
Have you tried chalk markers? My children and I are all equally amazed by them.
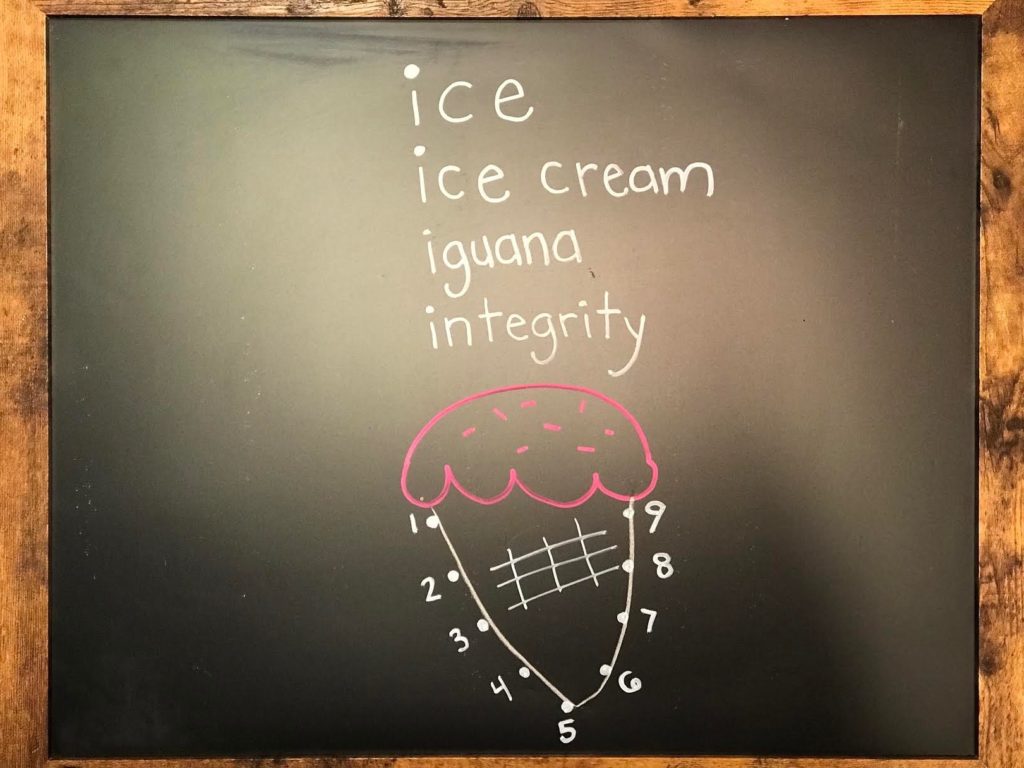
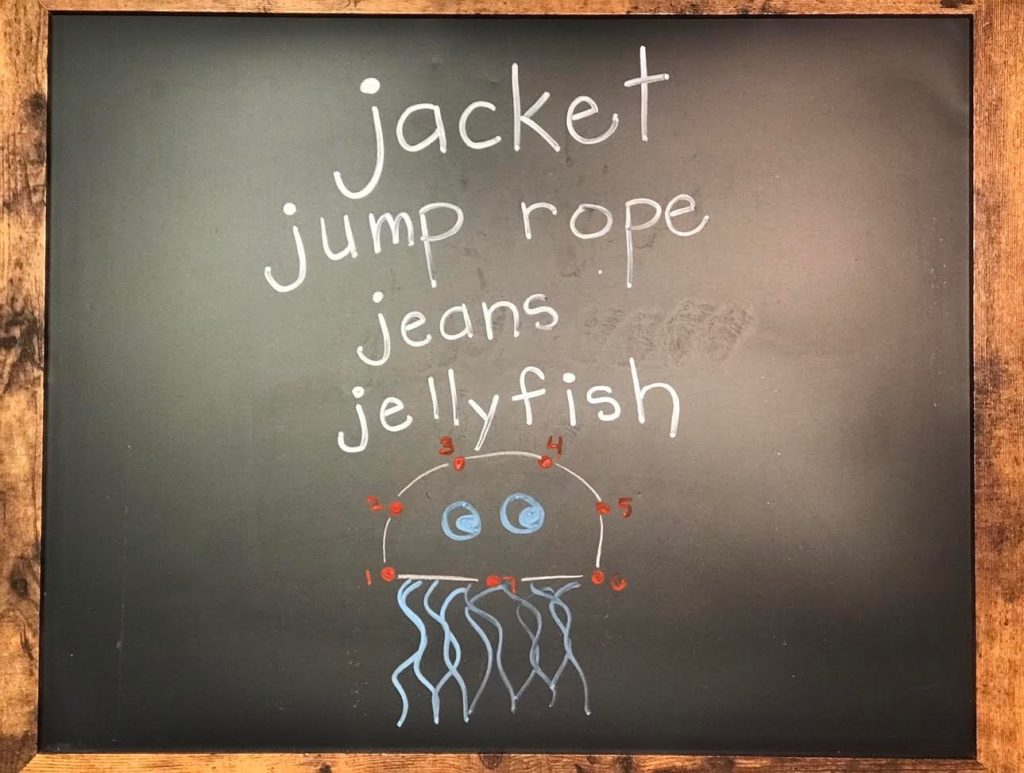
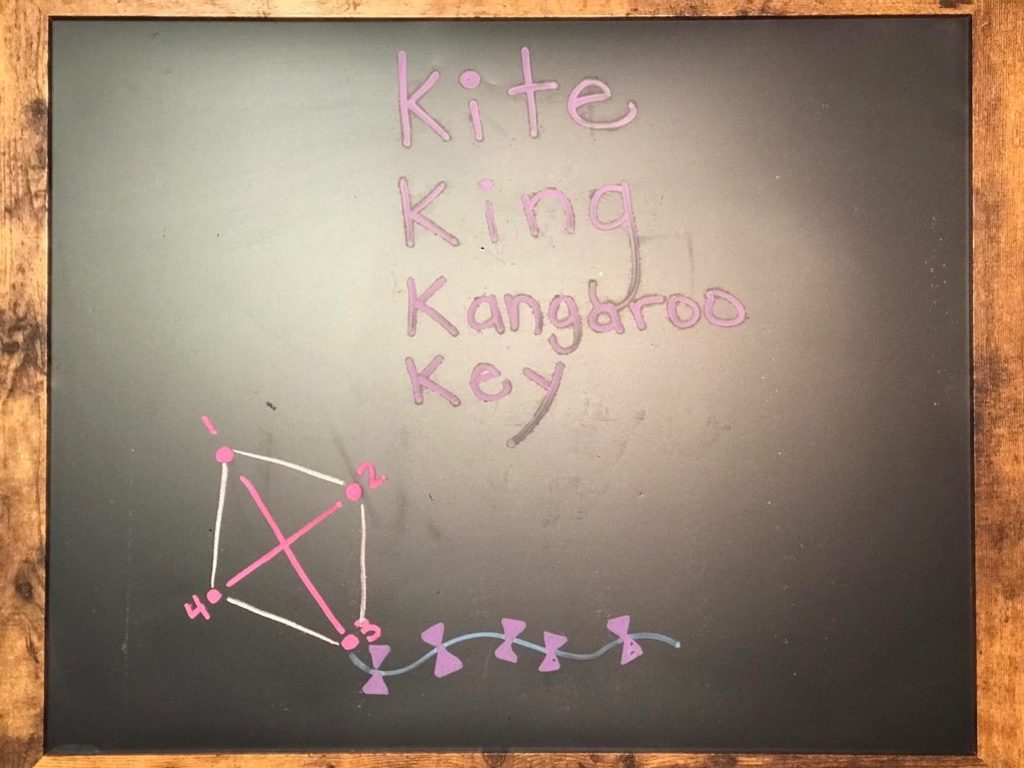
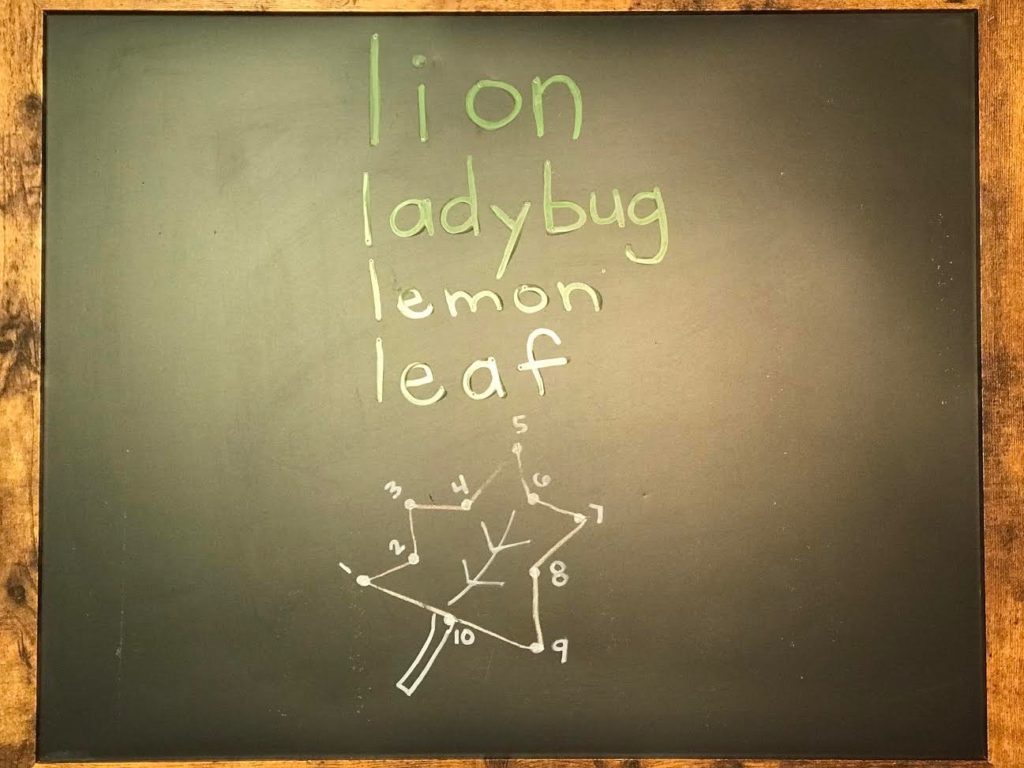
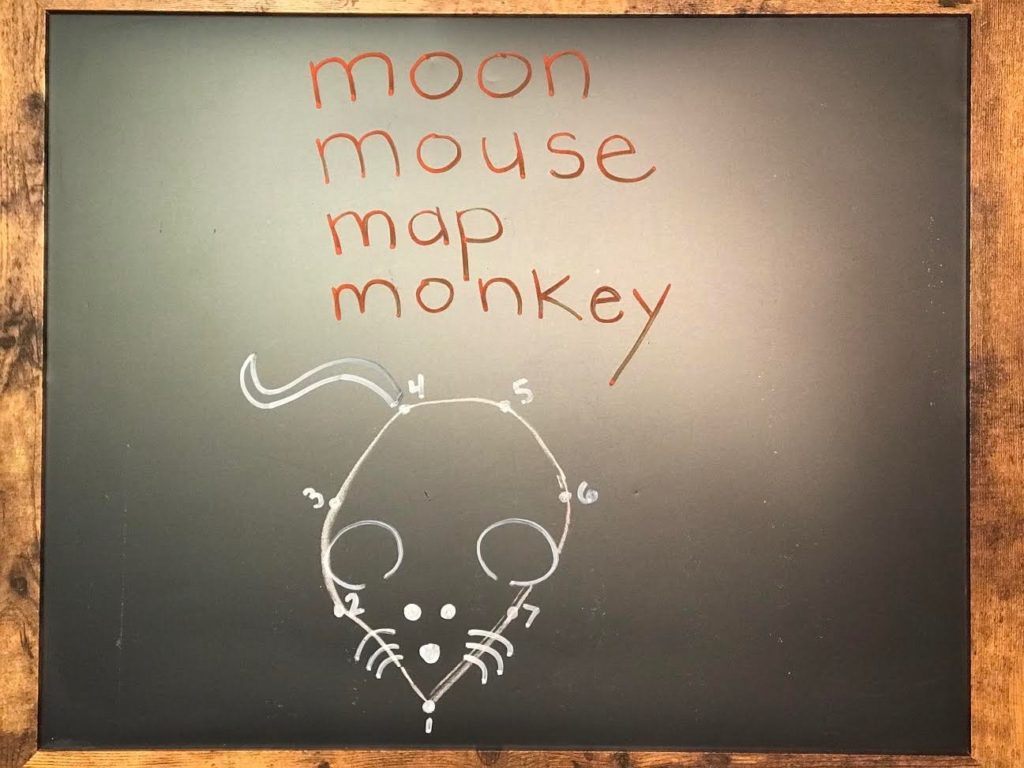
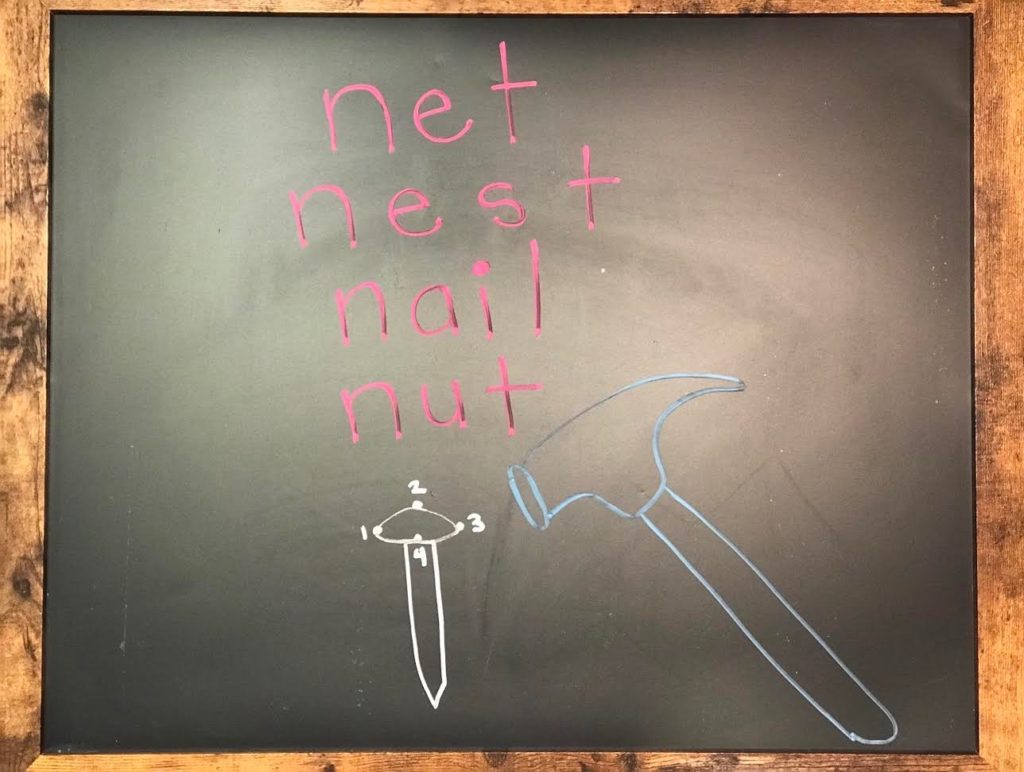
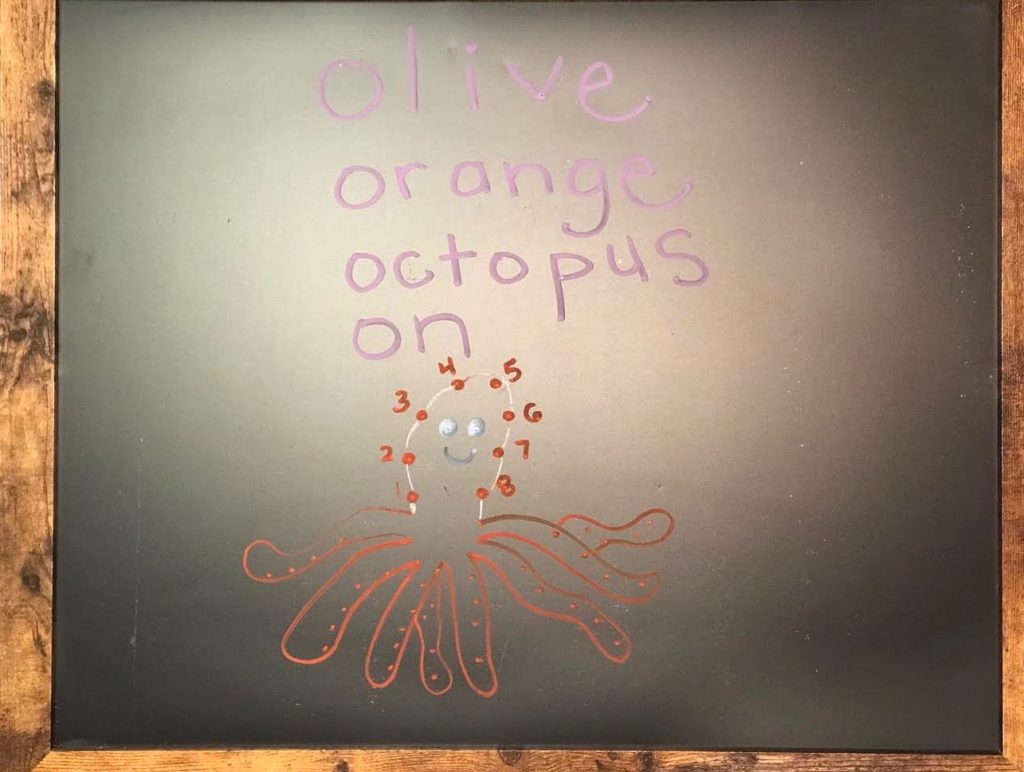
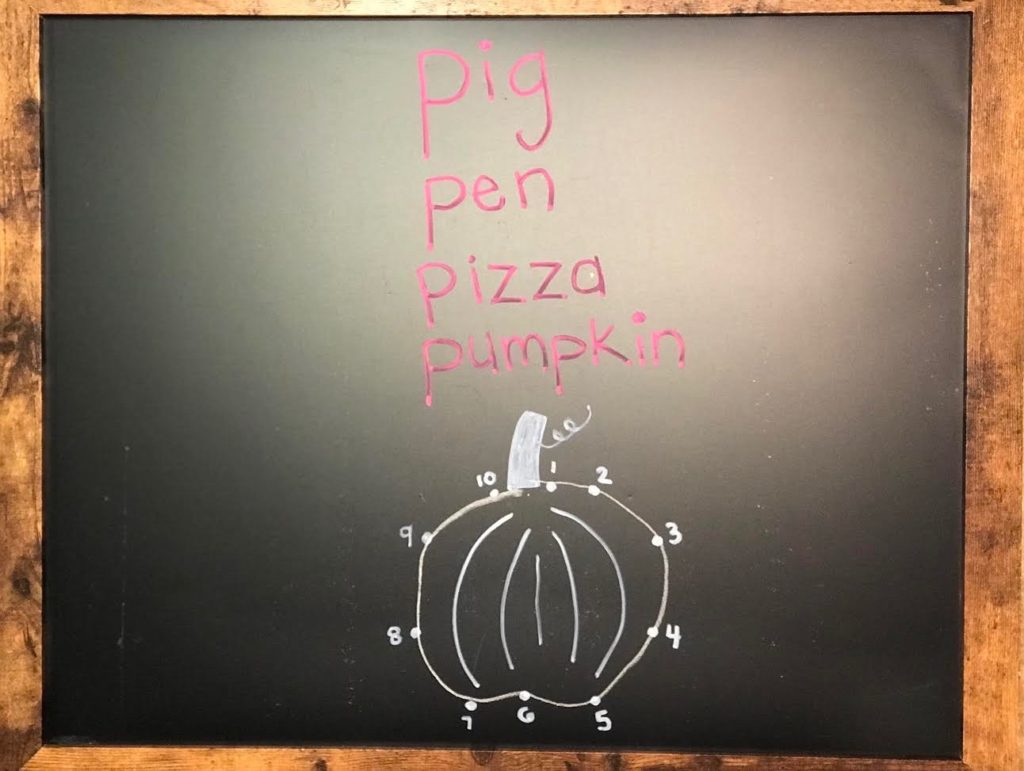
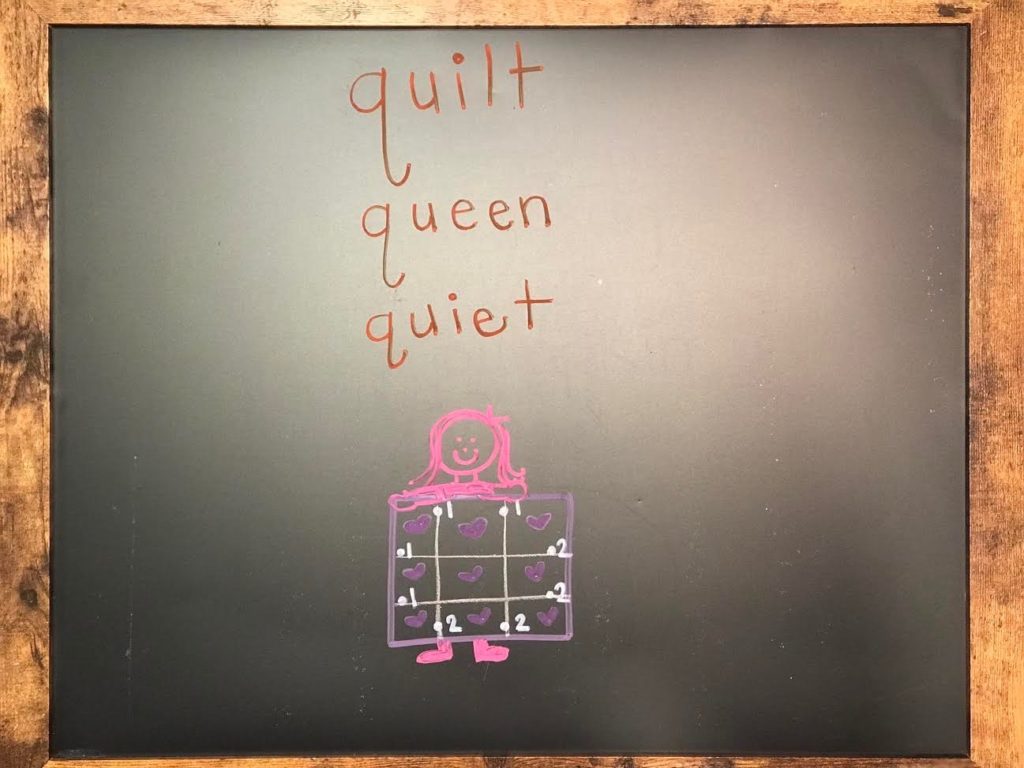
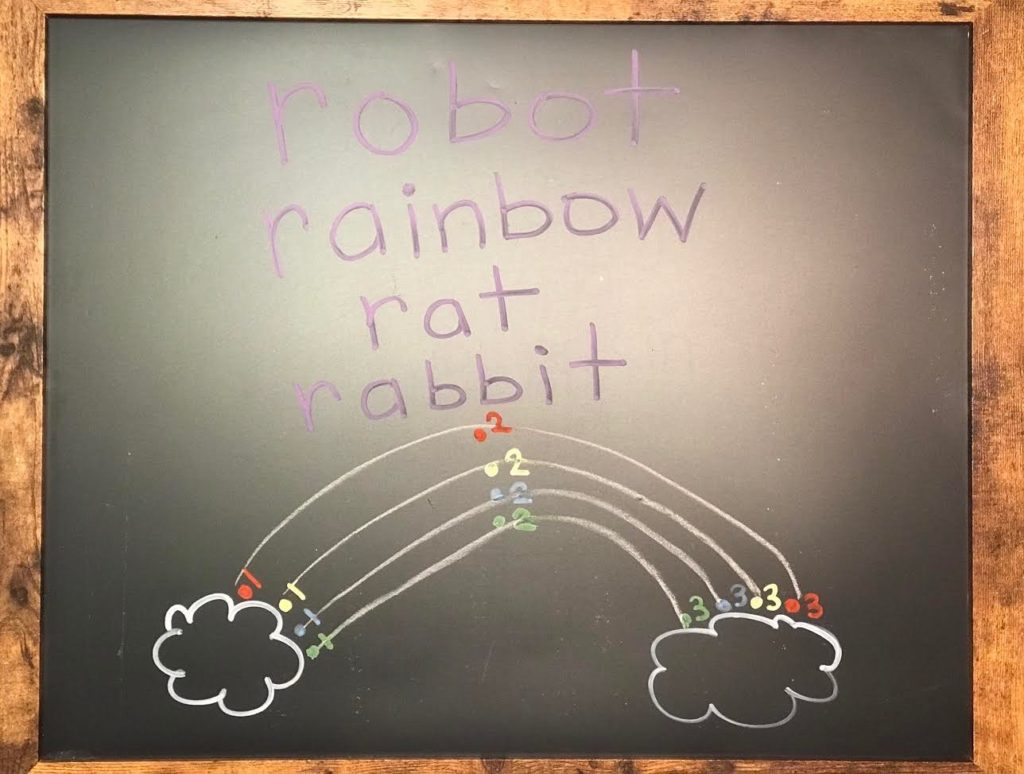
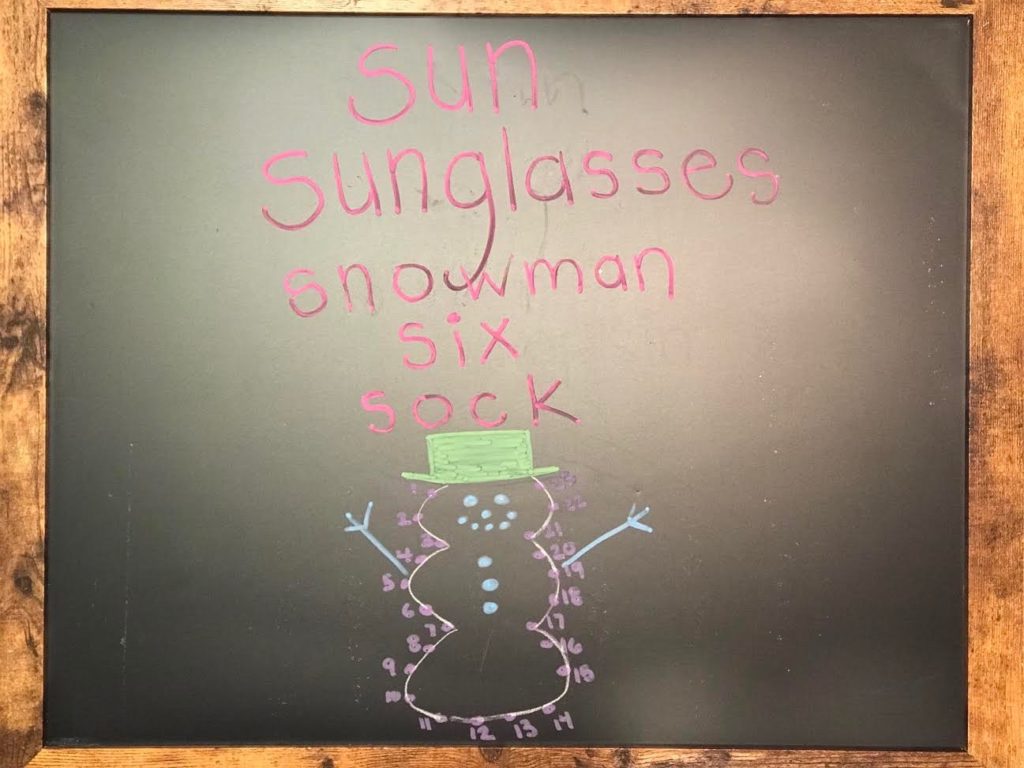
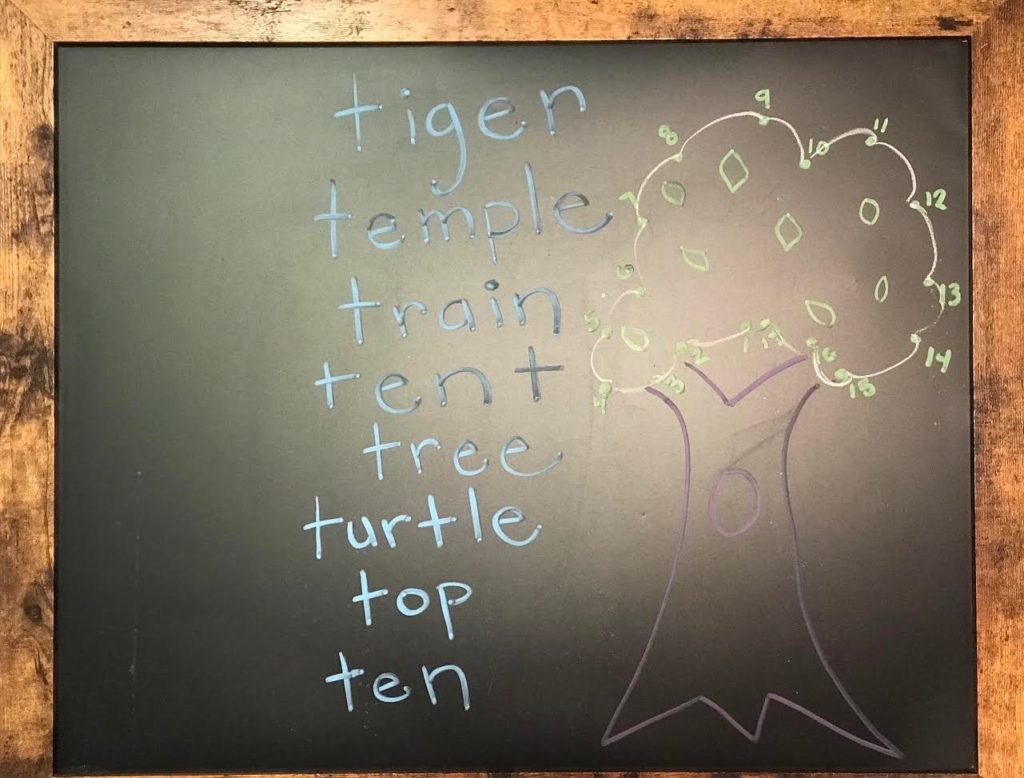
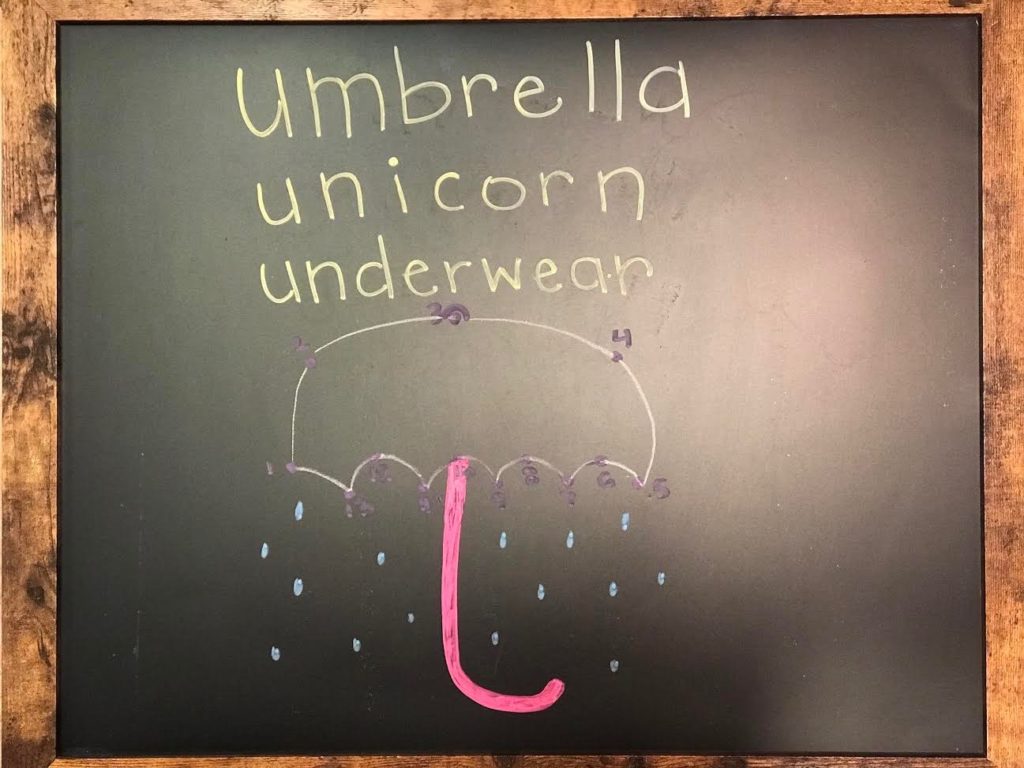
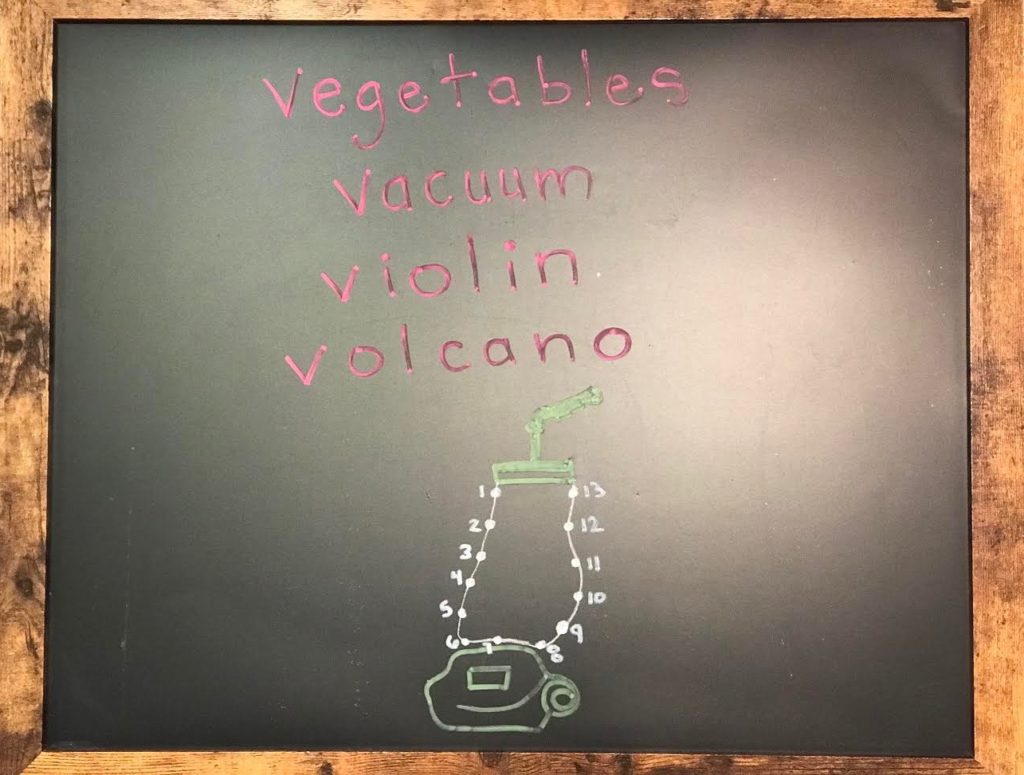
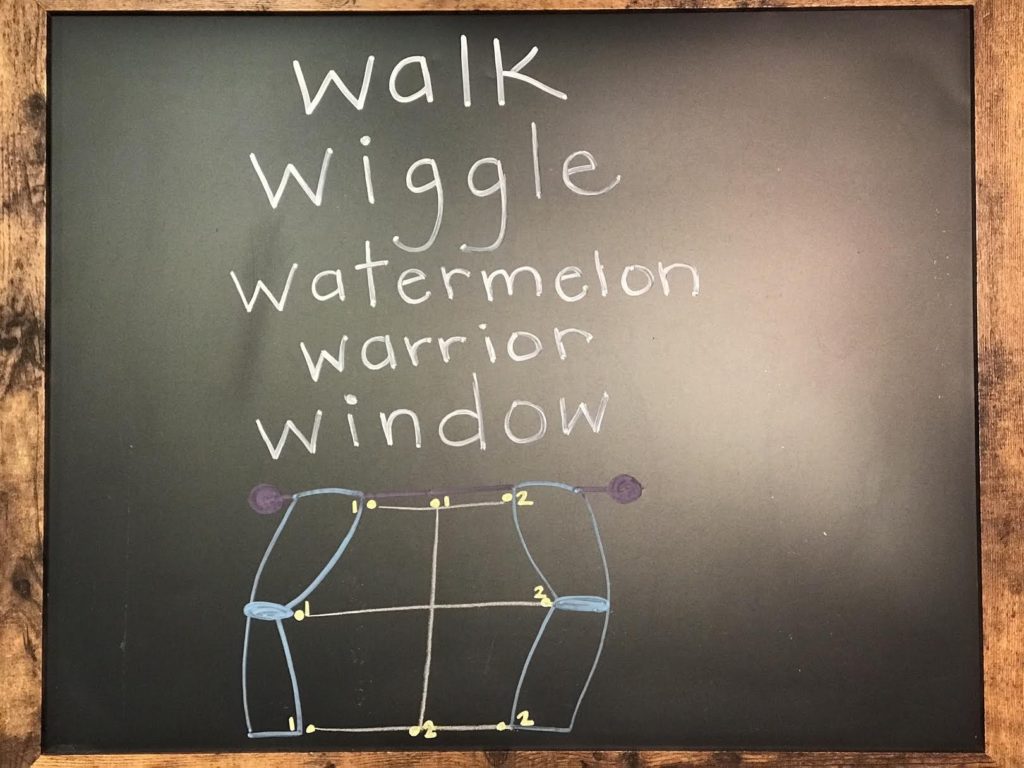
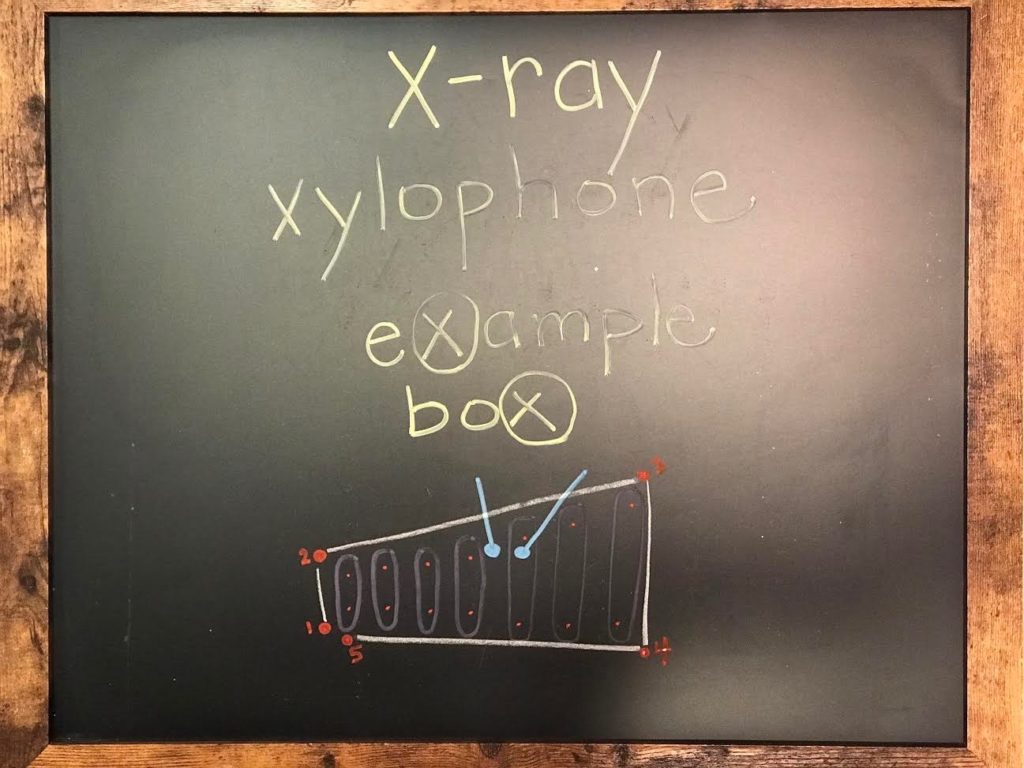
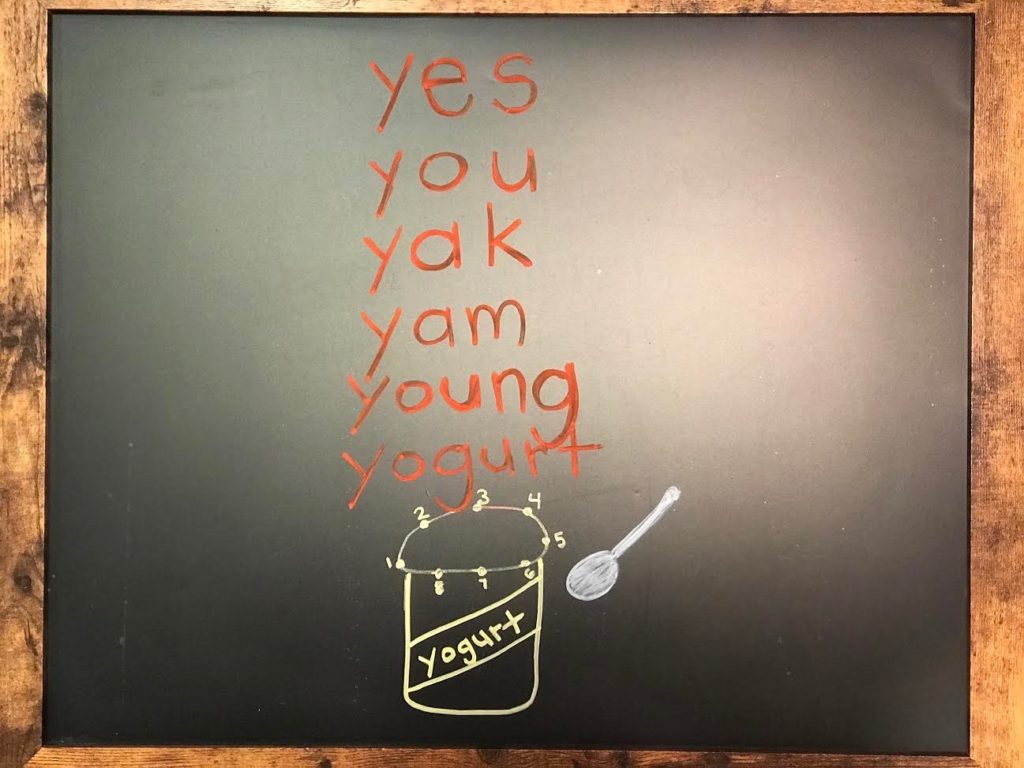
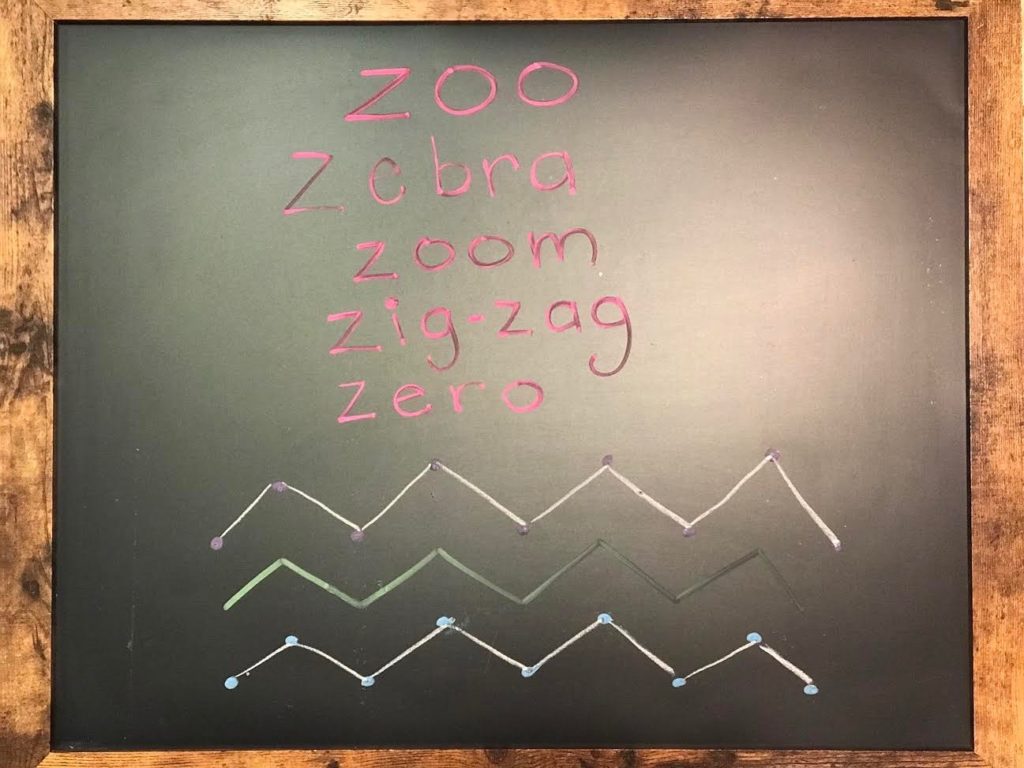
Simply think of an object that begins with the letter you are teaching your child. Then make a basic blueprint with numbered dots to form an easy as pie outline of the picture. Trust me when I say I am not a talented artist. My 7-year-old has far surprised my artistic abilities, you know? You can totally do this mama! See my example pictures to get your creativity rolling.
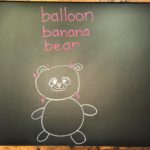
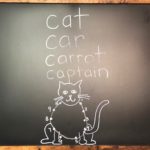

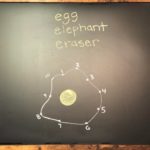
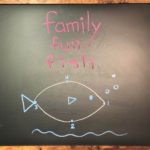
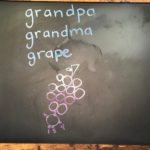

I like to incorporate these DIY dot-to-dots during ABC Time in our My LDS Preschool lessons. My preschoolers and I brainstorm a list of words that begin with our letter of the week and write them down. Then I include a fun dot-to-dot. My children can identify a picture that begins with our letter of the week and we find the correct written word of the object as well. So much incredible learning happening within a few short easy-to-prep minutes!
Your child gets to take a piece of chalk, chalk marker, dry erase marker, or crayon to connect the numbers and identify the picture he created!
What?! A is for apple?! A-p-p-l-e.
Great job buddy!
